How do I download pics from Photobucket etc ? ? ?
Eoin.
Helllllp
Moderator: joseyclosey
-
Aughnanure

- Moderator
- Posts: 3204
- Joined: Wed Jun 22, 2005 5:59 am
- Location: Glen Innes, NSW, Australia
photobucket.
if it is your account and photos. You select either IMG or URL in the new post or reply area and then go to Photobucket and copy either the IMG or the URL and paste in the proper area. you need to make sure that the IMG or URL code does not duplicate at the front.
 http://img.photobucket.com/albums/v54/E ... /cana1.jpg[/pic][/pic]
-
Aughnanure
- Moderator
- Posts: 3204
- Joined: Wed Jun 22, 2005 5:59 am
- Location: Glen Innes, NSW, Australia
ok
1. get your post ready. look at the upper right hand corner. see the box with IMg or URL?
pick one. click on it.
2. Go to photobucket. YOU must be signed in at photobucket.
3. look below the picture you want to use.
4. You will see several options
5 clik on the same option you selected in number 1 copy the entire code in the block.
6. close the photobucket window and put your cursor where the img or url marker is located in your post. then paste the infor you copied from photobucket look at the front end of the code and see if img or url is duplicated and just delete the first set [IMG] or [URL] should do it.
then hit submit. if this does do it then come back and email me at davidbdhb@aol.com with the steps you did . Ok good luck.
-
Tymberlord

- Posts: 38
- Joined: Thu Jun 23, 2005 7:01 am
- Location: Ontario Canada

Just to confuse you further
What I do is open the photobucket photo from the thumbnail. Right click on the photo to bring up the menu. Then left click on properties. Drag your underline over the URL you see in "properties". Right click, then left click on copy. Go to the post. hit the img key and "paste" by right click and then left click on Paste. Then hit the second img button you will see with the asterisk. Once you get the hang of it you can post pictures pretty fast.
But... you can still just add them from your home computer as I know you can do.
But... you can still just add them from your home computer as I know you can do.
I do it this way...
...on photobucket. I copy the Tag address under the picture and just post that into the body of the post. If the picture is too big I type width=640 after the .jpg" leaving a space btween the " after jpg and the w of width and a space after the 0 of 640 before alt=". It works for me.
Regards
Peter.
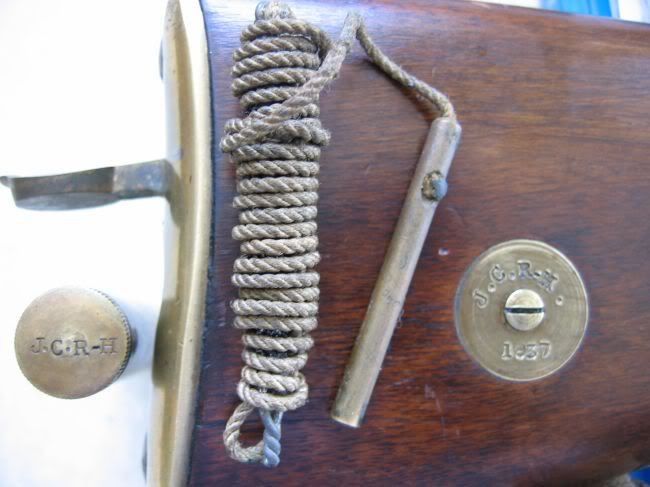
http://img.photobucket.com/albums/0703/ ... 2right.jpg[/pic]
Regards
Peter.
-
Brian the Brit

- Contributing Member
- Posts: 108
- Joined: Tue Feb 17, 2004 8:15 pm
- Location: Dorset, England
Photobucket
Eoin,
It is all much simpler if you use Mozilla Firefox as your browser as then you can open both Photobucket and Milsurp in separate tabs and just click between them.
I use the method referred to above where you click on "IMG" above, then go to photobucket and left click the URL to highlight it. Then right click it and click on "copy". Open Milsurp and right click after the "img" and hit "copy". Next click on the button above which will have changed to "Img*" and then hit return. Hey presto! Done.
Adam gave me a good tip and that was to use Irfanview to resize my pics to 650 pixels wide before saving them to Photobucket.
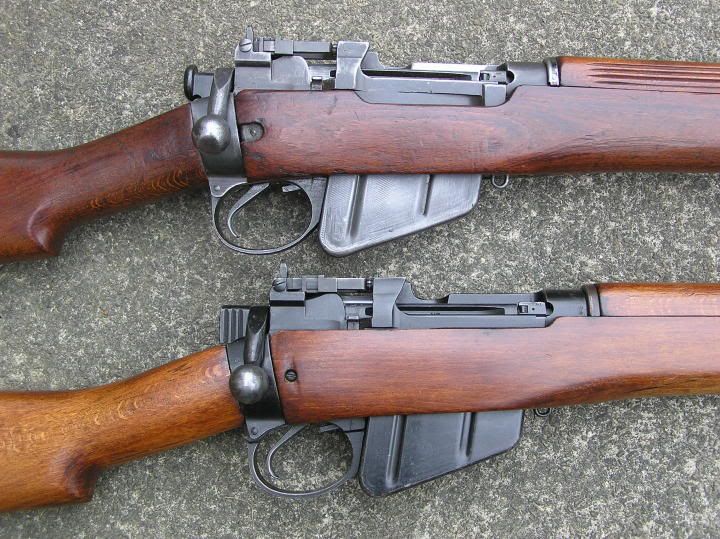
http://img.photobucket.com/albums/1003/ ... hgroup.jpg[/pic]
Hope this helps.
Brian
It is all much simpler if you use Mozilla Firefox as your browser as then you can open both Photobucket and Milsurp in separate tabs and just click between them.
I use the method referred to above where you click on "IMG" above, then go to photobucket and left click the URL to highlight it. Then right click it and click on "copy". Open Milsurp and right click after the "img" and hit "copy". Next click on the button above which will have changed to "Img*" and then hit return. Hey presto! Done.
Adam gave me a good tip and that was to use Irfanview to resize my pics to 650 pixels wide before saving them to Photobucket.
Hope this helps.
Brian
-
Aughnanure
- Moderator
- Posts: 3204
- Joined: Wed Jun 22, 2005 5:59 am
- Location: Glen Innes, NSW, Australia
-
Aughnanure
- Moderator
- Posts: 3204
- Joined: Wed Jun 22, 2005 5:59 am
- Location: Glen Innes, NSW, Australia